If you’re looking for a way to showcase your logo design in a realistic and eye-catching way, you might want to try a 3D wall logo mockup. A 3D wall logo mockup is a graphic design technique that allows you to create a 3D effect for your logo and display it on a wall background. This can give your logo design a professional and impressive look that will stand out from the crowd.
In this blog post, I’m going to show you how to create your own 3D wall logo mockup using Adobe Photoshop and a free PSD file that I created for you. You can download the PSD file from the link below and use it for your personal and commercial projects (Attribution required).
Step 1: Download the PSD File
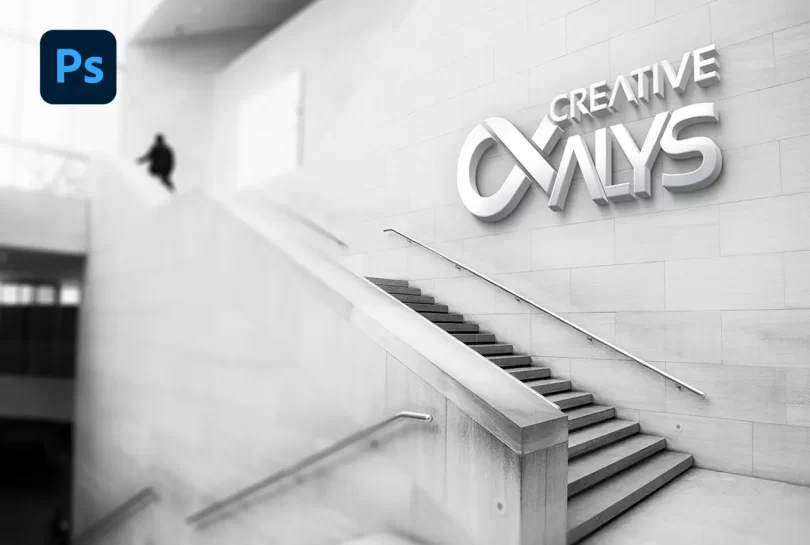
The first step is to download the PSD file that I created for you. It’s a 3D wall logo mockup with a dark gray wall and a realistic silver effect for your logo. You can easily change the color and texture of the wall and the logo to suit your preference.
To download the PSD file, simply click on the link below and save the file on your computer.
Step 2: Open the PSD File in Photoshop
The next step is to open the PSD file in Photoshop. You can use any version of Photoshop that supports smart objects. Smart objects are layers that contain image data from raster or vector images, such as Photoshop or Illustrator files. They preserve the image quality and allow you to edit them non-destructively.
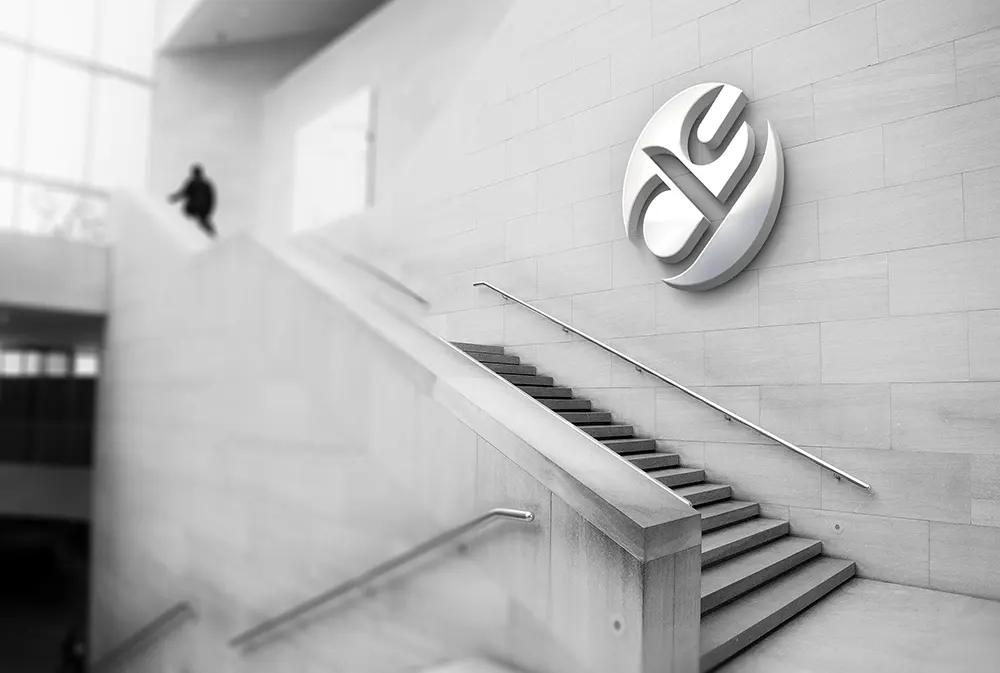
To open the PSD file in Photoshop, simply double-click on it or drag and drop it into the Photoshop window. You should see something like this:
Step 3: Replace the Logo with Your Own Design
The third step is to replace the logo with your own design. To do this, you need to edit the smart object layer that contains the logo. You can find it in the Layers panel on the right side of the Photoshop window. It’s named “Your logo here (double-click the layer thumbnail)”.
To edit the smart object layer, simply double-click on its thumbnail. This will open a new window with the logo image. You can then delete the existing logo and paste your own design. Make sure to resize and position it properly so that it fits within the canvas.
Once you’re happy with your logo design, save and close the smart object window. You should see your logo updated in the main PSD file with the 3D silver effect applied.
Step 5: Save and Export Your 3D Wall Logo Mockup
That’s it! You’ve just created your own 3D wall logo mockup using Adobe Photoshop and a free PSD file that I created for you. You can now save and export your mockup as a JPEG, PNG, or any other format you prefer.
To save your mockup, simply go to File > Save As and choose a name and location for your file. To export your mockup, simply go to File > Export > Export As and choose the format and quality options for your file.
Conclusion
I hope you enjoyed this tutorial and learned how to create your own 3D wall logo mockup using Adobe Photoshop and a free PSD file that I created for you. You can use this technique to showcase your logo designs in a realistic and eye-catching way that will impress your clients and visitors. You can also watch the video tutorial below for each step in detail.
If you’re looking for more logo mockups, you can check out these amazing collections from our PSD Mockups section. They feature hundreds of different styles and effects for displaying your logos, fonts, badges, and more.
If you have any questions or feedback, feel free to leave a comment below. I’d love to hear from you. And don’t forget to share your 3D wall logo mockups with me on social media. I’d love to see what you create. 😊
Premium Downloads:
You have to attribute CreativeAlys for free design resources you download from this website.
Design by creativealys.com
Copy the above line and paste it in a visible place, close to where you’re using the design resource.








Leave a Comment