
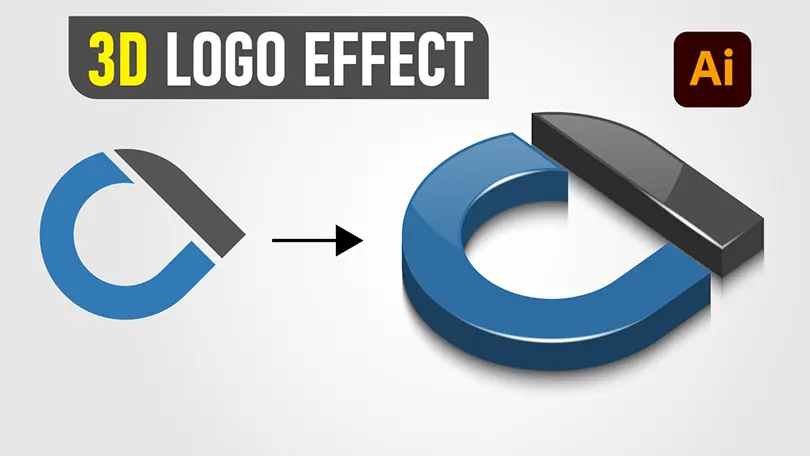
Creating realistic 3D vector graphics doesn’t always require complex 3D software. In this comprehensive Adobe Illustrator tutorial, you will learn how to transform a simple flat 2D logo icon into an eye-catching 3D glossy logo design complete with realistic reflections, shadows, and smooth gradients.
Whether you are designing logos for clients or building your graphic design portfolio, mastering 3D vector styling techniques like 3D Extrude & Bevel, the Blend Tool, and custom Art Brushes will significantly level up your workflow.
Free Vector Source File Download
Want to follow along or inspect the finished vector artwork? Download the free project source files below in AI and EPS vector formats.
Tutorial Overview: Key Techniques You Will Learn
- 2D Vector Setup: Structuring flat paths for effortless 3D extrusion.
- 3D Extrude & Bevel: Adjusting rotation angles, perspective, and depth settings.
- Custom Blend Tool Highlights: Creating smooth, shiny vector gloss lines.
- Custom Art Brushes: Adding precise shading and highlight accents along curved paths.
- Layer Organization: Grouping, expanding, and managing compound paths.
Step-by-Step Guide: How to Create a 3D Glossy Logo
Step 1: Prepare Your Base 2D Vector Icon
Start by creating or importing your flat 2D logo mark in Adobe Illustrator. Ensure your vector paths are clean and closed. Combine multiple shapes into a unified path or compound path using the Pathfinder panel (Window > Pathfinder > Unite).
Step 2: Apply the 3D Extrude & Bevel Effect
Select your base vector shape and navigate to Effect > 3D > Extrude & Bevel (Legacy). Adjust the position controls to set your desired perspective angle. Set the Extrude Depth to define the thickness of your 3D shape, and select Plastic Shading for base surface lighting.
Step 3: Expand Appearance & Separate Vector Faces
Once you are happy with the 3D angle, go to Object > Expand Appearance. Right-click the object and select Ungroup (you may need to do this step 2–3 times) to release individual surface vector faces.
Step 4: Create Glossy Gradient Overlays & Highlights
Apply linear and radial gradients to front and side surfaces to mimic realistic light behavior. To create ultra-smooth glossy curves, draw two thin parallel strokes with different opacities and use the Blend Tool (W) to create soft gradient highlights.
Step 5: Add Art Brushes for Precise Lighting
Create a tapered highlight path, drag it into the Brushes Panel (F5), and save it as an Art Brush. Apply this brush to key edge strokes to create realistic rim-lighting effects around the glossy edges of your logo.
Frequently Asked Questions (FAQ)
Does this tutorial work in newer versions of Adobe Illustrator?
Yes! While Adobe Illustrator introduced the new “3D and Materials” panel in recent versions, the classic 3D engine is still available under Effect > 3D and Materials > 3D (Classic) or Effect > 3D (Legacy).
Can I resize this logo without losing quality?
Yes. Because the entire artwork is created as a 100% vector file in Adobe Illustrator, you can scale it to any size—from business cards to huge billboards—without any loss of resolution or sharpness.
Enjoyed this tutorial? Don’t forget to share this post and subscribe to our official Creative Aly YouTube Channel for more free vector graphics, tutorials, and design resources!
You May Like
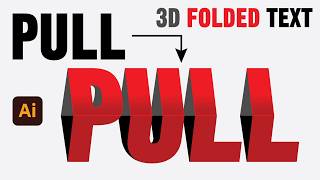
Free 3D Folded Paper Text Effect Vector (AI, EPS, SVG) & Tutorial
Free 3D Folded Paper Text Effect Vector & Tutorial Download this striking 3D Folded Paper Text Effect Vector featuring the...









AWESOME
Thanks!