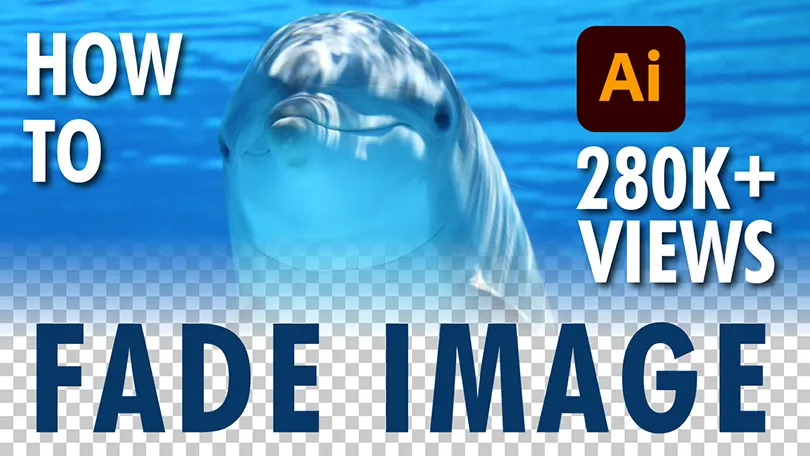
Fading an image to blend seamlessly into a background is a fundamental skill for any designer. Whether you are designing brochures, flyers, banners, or creating complex photo collages, mastering the transparency and fade transitions in Adobe Illustrator can elevate your vector artwork.
While Adobe Illustrator is primarily a vector-based program, its powerful Opacity Mask feature allows you to create non-destructive gradients and faded edges on raster images.
Below, you will find both a video walk-through and an easy-to-follow, step-by-step written tutorial to help you master this technique.
Watch the Video Tutorial
If you prefer a visual demonstration, watch this quick video to see the trick in action:
How to Fade an Image in Illustrator (Using Opacity Masks)
Follow these simple steps to smoothly fade any photo or graphic in Adobe Illustrator.
Step 1: Place Your Image on the Artboard
First, import the image you want to fade.
- Go to File > Place (or press Shift + Ctrl + P / Shift + Cmd + P).
- Select your image, click on your canvas to place it, and adjust it to fit your layout.
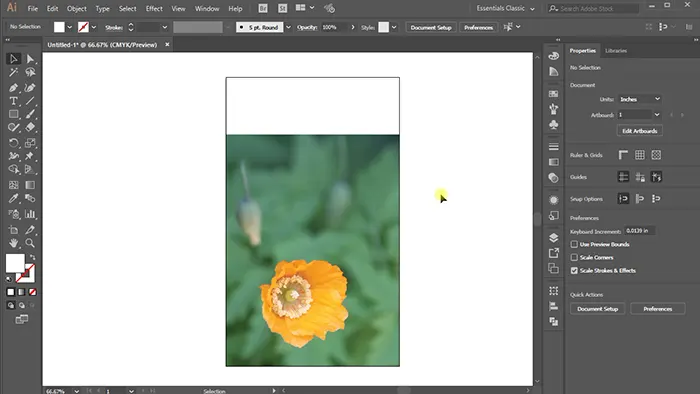
Step 2: Draw a Shape Over the Image
Next, define the area where the fade transition will occur.
- Select the Rectangle Tool (M) or any shape tool.
- Draw a shape directly over the portion of the image you want to fade or blend.
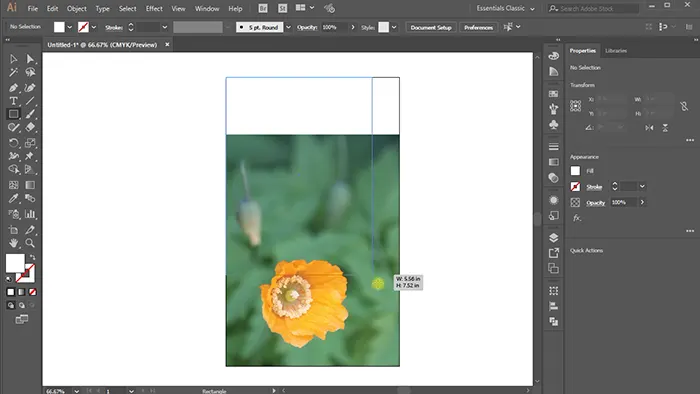
Step 3: Apply a Black-to-White Gradient to the Shape
The secret to fading in Illustrator lies in how the Opacity Mask reads color: White reveals, and Black conceals.
- Select the shape you just drew.
- Open the Gradient Panel (Window > Gradient) and apply a default Black and White Gradient.
- Adjust the direction of the gradient using the Gradient Tool (G) so that the black portion aligns with where you want the image to fade out completely, and the white portion aligns with where you want it to remain solid.
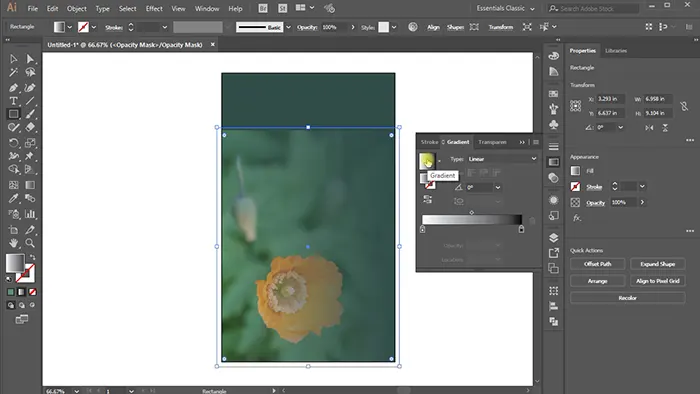
Step 4: Create the Opacity Mask
Now, let’s combine the image and the gradient shape.
- Select both the image and the gradient-filled shape using the Selection Tool (V).
- Open the Transparency Panel (Window > Transparency).
- Click the Make Mask button.
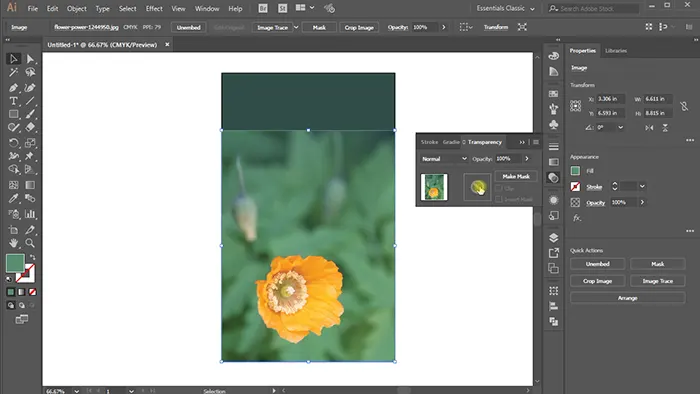
Note: If your image disappears entirely, make sure the “Clip” option in the Transparency Panel is unchecked, or verify that your gradient has true white and black colors.
Step 5: Fine-Tune Your Fade Transition
If you want to adjust how quickly or slowly the image fades:
- In the Transparency Panel, click on the Mask thumbnail (the right-side box showing your gradient preview) to enter mask-editing mode.
- Grab the Gradient Tool (G) and drag it across your image to readjust the start and end points of the fade.
- Once you are happy with the fade, make sure to click back on the Image thumbnail (the left-side box in the Transparency Panel) to exit mask-editing mode and resume working on your document.
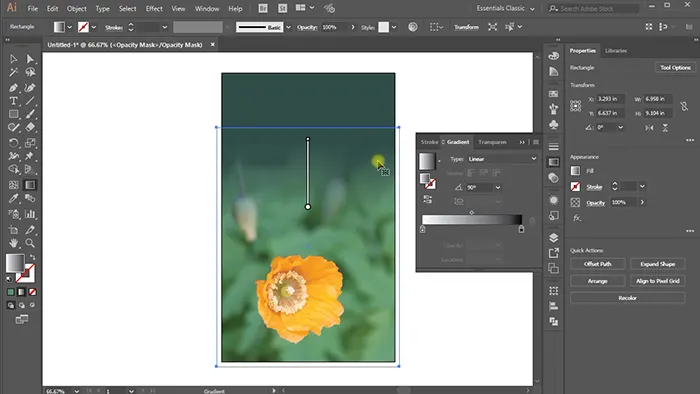
How to Fade the Edges of an Image in Illustrator (Vignette Effect)
If you want to fade all the edges of a photo to make a smooth vignette, you can adapt the steps above:
- Instead of a linear gradient, select the Radial Gradient option in the Gradient Panel.
- Set the center of the radial gradient to white and the outer edges to black.
- Apply the Opacity Mask as described in Step 4. This will keep the center of your photo intact while softly fading all four edges into your background.
Bonus: Download the Practice File
To help you practice this technique, we have prepared a fully layered vector card template that uses this exact image-fading trick. Download the vector source file to study the layers and opacity settings.

Credits:
Design by CreativeAlys – Don’t forget to share your creations with #CreativeAlys!
You May Like
![Top 5 Adobe Illustrator Tutorials of 2023 [Must-Watch Edition]](https://creativealys.com/wp-content/uploads/2023/12/top-5-adobe-illustrator-tutorials-of-2023-thumbnail-300x169.webp)
Top 5 Adobe Illustrator Tutorials of 2023 [Must-Watch Edition]
As we bid adieu to 2023, it’s time to reminisce about the year’s most impactful Adobe Illustrator tutorials that captivated...