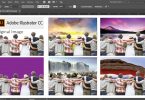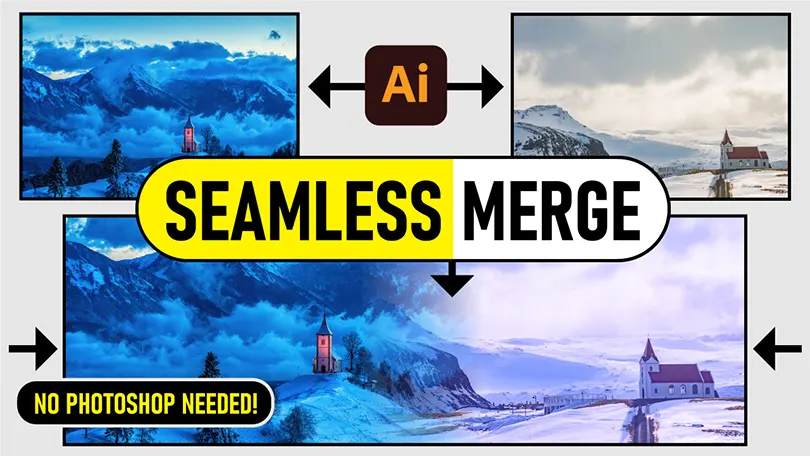
Many graphic designers assume that photo blending and image merging can only be achieved in raster-based applications like Adobe Photoshop. However, you can seamlessly merge two photos together in Adobe Illustrator using built-in features like Opacity Masks and the Gradient Tool.
In this detailed tutorial, we will walk you through the step-by-step process of merging images seamlessly in Adobe Illustrator, blending edges smoothly, and matching color tones across your images.
Why Merge Images in Adobe Illustrator?
While Photoshop is the industry standard for photo editing, performing image blends directly inside Adobe Illustrator offers several key workflow advantages:
- Non-Destructive Workflow: You retain vector versatility without constantly switching back and forth between Photoshop and Illustrator.
- Vector Composition: Perfect for creating poster backgrounds, banners, and layout designs that combine photos with vector elements.
- Fully Editable Masking: Using Opacity Masks allows you to re-adjust gradient transitions at any time.
Step-by-Step: How to Seamlessly Blend Two Images in Illustrator
Step 1: Place and Align Your Images
- Open Adobe Illustrator and create a new document.
- Go to File > Place and select the two images you want to merge.
- Position the two images on your artboard so their edges overlap slightly where you want the seamless transition to occur.
Step 2: Create a Rectangle Covering the Overlap Area
- Select the Rectangle Tool (M).
- Draw a rectangle over the top image—specifically covering the region where the blend will take place.
Step 3: Apply a Black to White Gradient
- Select the rectangle and open the Gradient Panel (Ctrl + F9 / Cmd + F9).
- Apply a standard linear gradient going from pure white (#FFFFFF) to pure black (#000000) across the transition zone.
- Note: White preserves visibility (100% opacity), while black creates transparency (0% opacity).
Step 4: Create the Opacity Mask
- Open the Transparency Panel (Window > Transparency).
- Select both the top image and the gradient rectangle using the Selection Tool (V).
- In the Transparency Panel, click the flyout menu (top right icon) or the main button and select Make Mask (or Make Opacity Mask in older versions).
- Check the “Clip” option if necessary to ensure smooth feathering.
Step 5: Adjust the Gradient Blend Smoothness
If the fade transition is too harsh or misplaced, select the Mask thumbnail in the Transparency Panel, pick the Gradient Tool (G), and redraw the direction of the gradient line until the two photos melt into each other seamlessly.
Matching Image Color Tones in Illustrator
Merging two photos seamlessly requires not only a smooth visual edge transition, but also matching light and color values.
- Use a colored rectangle set to Color or Soft Light blending mode over the merged seam to unify the color palette.
- Use the Eyedropper Tool to pick core colors from the dominant image and apply color overlays over the secondary photo.
Frequently Asked Questions (FAQs)
Can I edit the photos after creating an Opacity Mask in Illustrator?
Yes. Simply click on the image thumbnail in the Transparency Panel to edit the artwork, or click the Mask thumbnail to modify the gradient transition line at any point.
What is the difference between merging images in Illustrator vs Photoshop?
Photoshop operates on raster pixels and provides advanced healing brushes, frequency separation, and complex color grading layers. Illustrator uses non-destructive vector masks over placed raster images, making it ideal for marketing layouts, posters, and vector-heavy artwork.
Did you find this tutorial helpful? Don’t forget to subscribe to Creative Alys on YouTube for more graphic design tricks, free resources, and vector tutorials!
You May Like
Grunge Vector Texture
Grunge Texture is another graphic design freebie from CreativeAlys. It includes vector file along with high resolution JPEG & PNG...