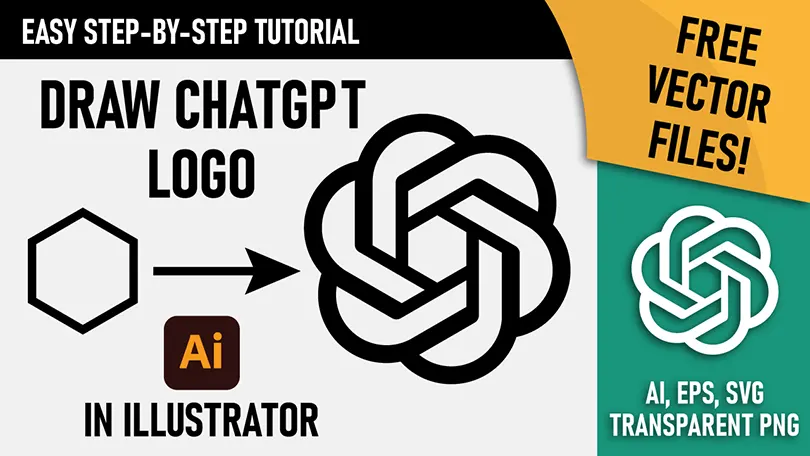
We’ve entered a new era of artificial intelligence where OpenAI is leading the industry through platforms like ChatGPT. Beyond its technology, the iconic 6-loop geometric spiral logo of ChatGPT has become one of the most recognizable symbols in modern tech branding.
In this comprehensive logo design tutorial, you will learn the absolute easiest and quickest process for creating the ChatGPT / OpenAI logo in Adobe Illustrator. We will be using a highly accurate geometric workflow involving hexagons, 60-degree rotational symmetry, and a clever trick using stroke joins.
Watch the Video Tutorial
📥 Download the ChatGPT / OpenAI Logo Vector Files
Skip the drawing and get the fully editable vector files for this logo in multiple formats and color themes (Dark, Light, Brand Green):
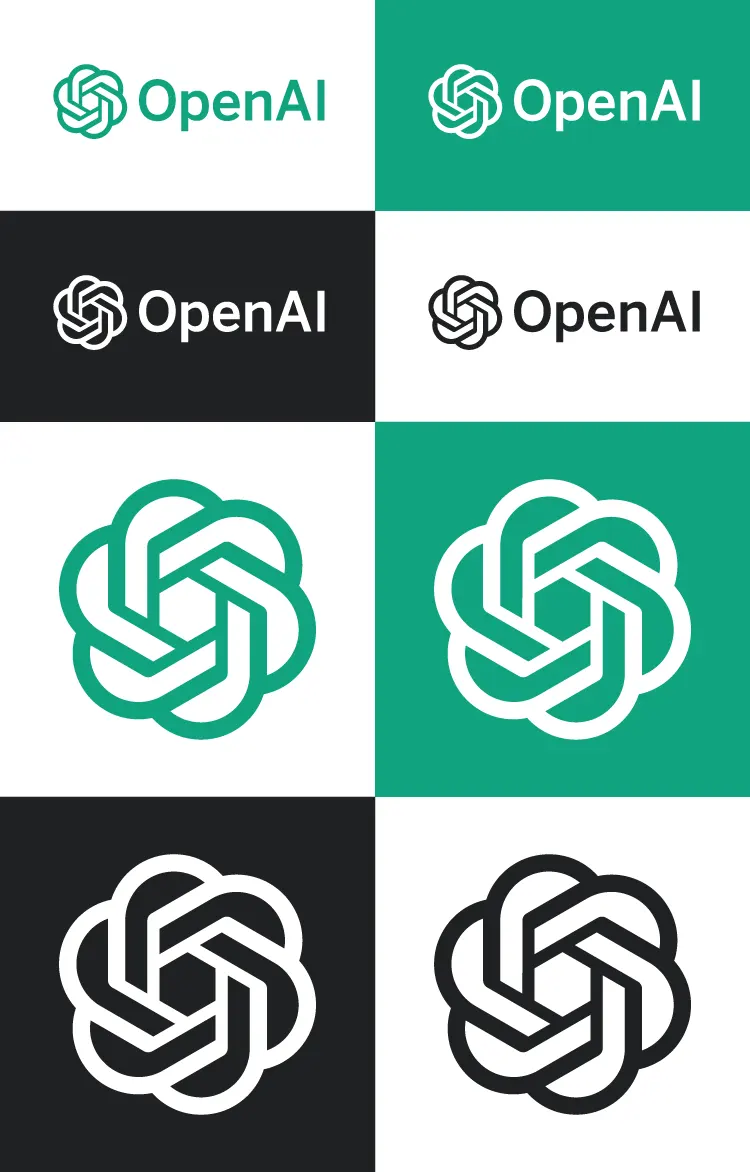
- File Formats Included: AI (Adobe Illustrator), EPS, SVG, and High-Res Transparent PNG
- License: Free for personal & educational learning projects
Step-by-Step: How to Draw the ChatGPT Logo
Follow these exact steps to recreate the perfect overlapping geometry of the OpenAI symbol. This method is perfect for both beginners and experienced graphic designers.
Step 1: Create the Base Hexagon
Select the Polygon Tool from your toolbar. Click on your artboard and set the sides to 6 to create a perfect hexagon. This hexagon will serve as the geometric guide for the center of the logo.
Step 2: Draw, Rotate, and Reflect Lines
Using the Line Segment Tool, draw a straight line aligned with your hexagon. Next, select the line, use the Rotate Tool, and rotate it exactly 60 degrees. Create a reflection of this rotated line to form the inner geometric bounds of one segment.
Step 3: Cap the Edge with a Semi-Circle
To create the smooth outer curve of the logo segment, draw a perfect circle using the Ellipse Tool. Using the Scissors Tool (Cut Tool), cut the circle in half to create a semi-circle. Place this semi-circle precisely at the edge of your straight lines to close the segment.
Step 4: 60-Degree Rotational Symmetry (The Magic Trick)
Now that you have one perfect segment, select it and grab the Rotate Tool. Set your anchor point to the exact center of your base hexagon. Rotate the segment by 60 degrees and click “Copy.” Then, simply press Ctrl + D (Windows) or Cmd + D (Mac) four times to duplicate the action, completing the 6-sided spiral shape.
Step 5: Perfect the Corners with Stroke Joins
Instead of manually drawing curved inner corners, we use a smart trick. With the shapes still in stroke mode, open your Stroke Panel and change the corner style to Round Join. This instantly gives the logo that slight, perfectly smooth roundness at the inner intersections.
Step 6: Expand and Merge with Pathfinder
With your design selected, go to Object > Expand (or Expand Appearance) to turn your thick strokes into solid filled shapes. Finally, open the Pathfinder Panel and click the Merge Tool. This seamlessly merges the overlapping segments together, giving you the final, clean ChatGPT logo.
Step 7: Add Colors & Typography
Apply the official OpenAI brand colors (Green: #10A37F, or Dark Slate: #202123). Pair the logo with a clean geometric sans-serif font to complete the logotype.
Frequently Asked Questions (FAQs)
What is the easiest way to draw the ChatGPT logo?
The easiest method is using Adobe Illustrator’s Rotate tool set to 60-degree increments around a hexagonal base, as demonstrated in our step-by-step tutorial.
Can I download the ChatGPT logo in SVG format?
Yes, you can download the clean, fully scalable vector SVG file along with AI and EPS formats using the download button provided on this page.
How do I round the inner corners of the OpenAI logo?
Instead of manually curving them, leave your paths as strokes, select all shapes, and apply a Round Join from the Stroke panel before expanding the object. This ensures mathematical perfection.
Credits:
Design by CreativeAlys – Don’t forget to share your creations with #CreativeAlys!
You May Like
Vintage Wall Vector Textures
Add a timeless touch to your designs with this exclusive set of vintage wall vector textures. This freebie includes three...